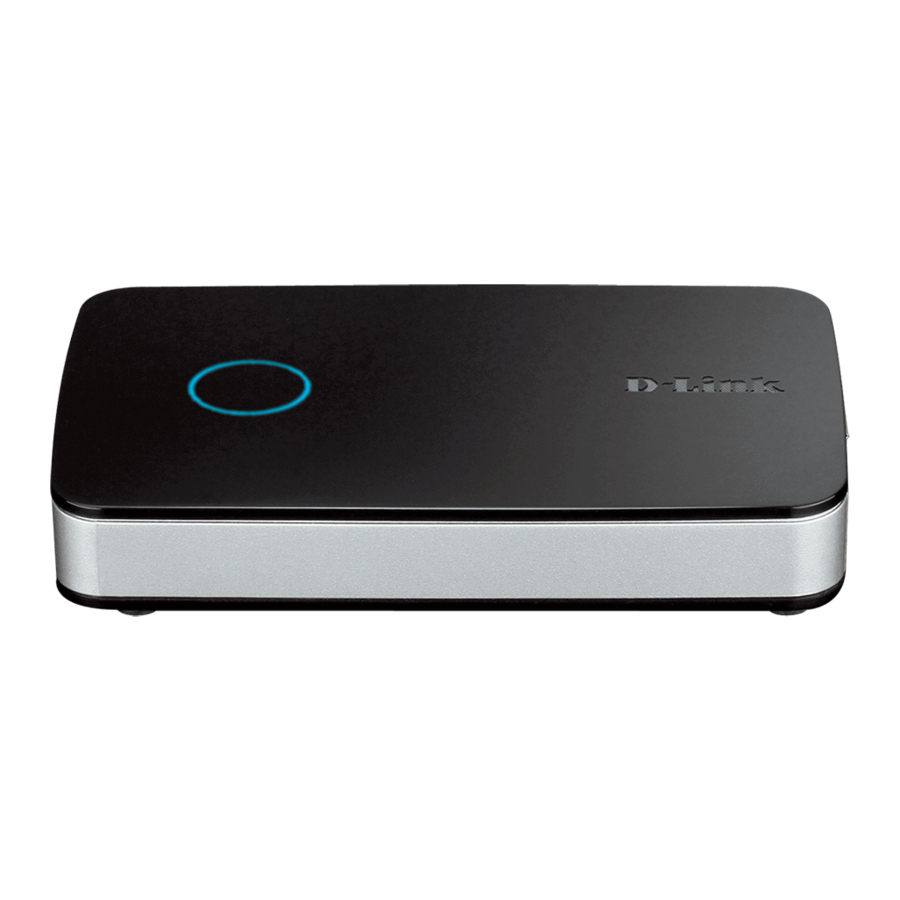
D-Link mydlink DNR-202L Quick Install Manual
Camera video recorder
Hide thumbs
Also See for mydlink DNR-202L:
- User manual (84 pages) ,
- Quick installation manual (49 pages) ,
- Quick install manual (40 pages)
Advertisement
Table of Contents
Advertisement
Table of Contents

Summary of Contents for D-Link mydlink DNR-202L
- Page 1 DNR-202L mydlink Camera Video Recorder ™ Quick Install Guide...
-
Page 2: Package Contents
Thank you for purchasing the mydlink Camera Video Recorder. Follow the easy steps in this guide to properly set up your recorder. Please verify that all the package contents listed below are available. Package Contents D-Link DNR-202L mydlink Camera Video Recorder Power Adapter Ethernet Cable Quick Install Guide If any of the above items are missing, please contact your reseller. - Page 3 Installation - Windows Only Step 1: Connect the included Ethernet cable to the Ethernet port located on the rear panel of the DNR-202L and attach it to your network. Step 2: Connect the power supply to the power connector located on the rear panel of the DNR-202L and connect it to a wall outlet or power strip.
- Page 4 Setup Wizard - Mac OS X Step 1: Connect the included Ethernet cable to the Ethernet port located on the rear panel of the DNR-202L and attach it to your network. Step 2: Connect the power supply to the power connector located on the rear panel of the DNR-202L and connect it to a wall outlet or power strip.
-
Page 5: Mydlink Portal
mydlink Portal After registering your DNR-202L NVR with a mydlink account in the NVR Setup Wizard, you will be able to remotely access your NVR from the www.mydlink. com website. Once you are logged in to your mydlink account, you will see a screen similar the one below. - Page 6 mydlink View - NVR App (Free) Search for “mydlink View - NVR ” to download and install the app on your smartphone or tablet when connected to the Internet. System Requirements: iOS version 5.1.1 or above. Android version 4.01 or above. Once the download has been completed, launch the “mydlink View - NVR”...
- Page 7 Notes...
-
Page 8: Technical Support
©2013 D-Link Corporation/D-Link Systems, Inc. All rights reserved. D-Link, the D-Link logo, D-Link Green, the D-Link Green logo, ShareCenter, and the D-Link RoHS logo are trademarks or registered trademarks of D-Link Corporation or its subsidiaries in the United States and/or other countries. Other...


