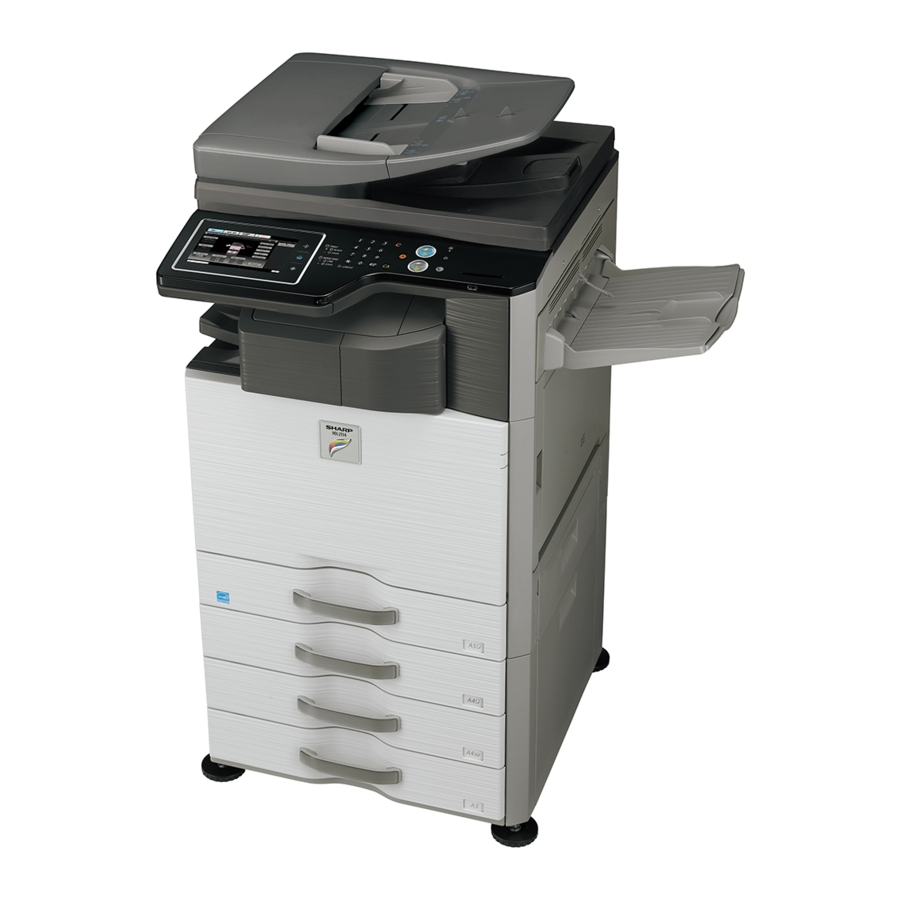
Sharp MX-2314N Installation Manual
Digital full color
multifunctional system
Hide thumbs
Also See for MX-2314N:
- Operation manual (836 pages) ,
- Service manual (524 pages) ,
- Start manual (16 pages)
Advertisement
Quick Links
TopPage
Parts marked with "
" are important for maintaining the safety of the set. Be sure to replace these parts with
specified ones for maintaining the safety and performance of the set.
INSTALLATION MANUAL
DIGITAL FULL COLOR
MULTIFUNCTIONAL SYSTEM
MX-2314N
MX-2614N
MX-3114N
MODEL
SHARP CORPORATION
This document has been published to be used
for after sales service only.
The contents are subject to change without notice.
Advertisement

Summary of Contents for Sharp MX-2314N
- Page 1 TopPage INSTALLATION MANUAL DIGITAL FULL COLOR MULTIFUNCTIONAL SYSTEM MX-2314N MX-2614N MX-3114N MODEL Parts marked with " " are important for maintaining the safety of the set. Be sure to replace these parts with specified ones for maintaining the safety and performance of the set.
- Page 2 MX-3114N Transit, Installation (using) environment, Note 1. Installing (use) conditions (3) Power frequency, waveform The frequency must be within the range of the specified frequency Before installing the machine, check that the following installing 2%. If power waveform is deformed, a trouble may occur. (use) conditions are satisfied.
- Page 3 F. Note for handling PWB and electronic parts Humidity RH When handling the PWB and the electronic parts, be sure to observe the following precautions in order to prevent against dam- age by static electricity. • When in transit or storing, put the parts in an anti-static bag or an anti-static case and do not touch them with bare hands.
-
Page 4: Transit And Delivery
Remove the packing materials prior to installation in the office envi- ronment. 3. Relationship between the model name and the designation in description of the document Model name Designation in description MX-2314N 23cpm machine MX-2614N 26cpm machine MX-3114N 31cpm machine MX-3114N Transit, Installation (using) environment, Note - iii... - Page 5 Attach the removed fixing material to the position shown in the figure for future use. Close the tray which was pulled out. 26cpm/31cpm machine (2) Scanner (2/3 mirror unit) lock release Remove the optical unit fixing screw, and remove the note label. MX-3114N MX-2314N/2614N/3114N (MAIN UNIT) 2 – 1...
- Page 6 Be sure to shake the bag of developer thoroughly before pour- ing into the developing unit. When pouring the developer into the unit, use care to not get developer in to the drive section. MX-3114N MX-2314N/2614N/3114N (MAIN UNIT) 2 – 2...
- Page 7 When removing or installing the developing unit, put your hand from below the unit and slide it in parallel along the guide. At that time, be careful not to touch the roller surface. MX-3114N MX-2314N/2614N/3114N (MAIN UNIT) 2 – 3...
- Page 8 After the machine completes cycling, exit the simulation mode. Confirm that “Install the toner cartridge” is displayed, and install the toner cartridge by the following procedures. Shake the toner cartridge horizontally several times. MX-3114N MX-2314N/2614N/3114N (MAIN UNIT) 2 – 4...
- Page 9 SIM mode, and turning OFF/ON the power. If this precaution is ignored, an error of F2-40 - 43 or F2-64 - 67 may occur or an overtoner may be caused. MX-3114N MX-2314N/2614N/3114N (MAIN UNIT) 2 – 5...
- Page 10 Close the front cabinet. sions of the paper to be loaded. The guide plates A and B are slidable. Slide each guide plate while squeezing its lock lever. MX-3114N MX-2314N/2614N/3114N (MAIN UNIT) 2 – 6...
-
Page 11: Image Quality Check
(Automatic adjustment) / Color registration adjustment (Automatic adjustment) This adjustment performs the print engine image distortion adjust- ment, the OPC drum phase adjustment, and the color registration adjustment simultaneously. Enter SIM50-22 mode. EXECUTE Adjustment completed Abnormal end MX-3114N MX-2314N/2614N/3114N (MAIN UNIT) 2 – 7... - Page 12 * "ALL_ROTATES" shows the number of rotations of adjust- ments for all the adjustment screws. "C, M, and Y(SKEW)" shows the number of adjustment click steps for each adjust- ment screw of C, M, and Y. MX-3114N MX-2314N/2614N/3114N (MAIN UNIT) 2 – 8...
- Page 13 In this case, check each drive section and the process section. Serviceman chart (Color patch section) The densities of patches 1 - 6 of Patch 7 is slightly each color are properly balanced. copied or not copied. MX-3114N MX-2314N/2614N/3114N (MAIN UNIT) 2 – 9...
- Page 14 Main machine S/ ADJ9-D16 Sim46-54Copy/Printer color balance and density adjustment (Automatic adjustment) (Basic adjustment) The background density is not so light. Main machine S/ ADJ9-B Sim46-74Copy/Printer color balance and density adjustment (Automatic adjustment) (Basic adjustment) MX-3114N MX-2314N/2614N/3114N (MAIN UNIT) 2 – 10...
- Page 15 Main machine ADJ9-D16 Sim46-54Copy/Printer gray balance and density adjustment (Automatic adjustment) (Basic adjustment) The black low-density gradation is copied Main machine ADJ9-B Sim46-74Copy/Printer color balance and density adjustment slightly. (Automatic adjustment) (Basic adjustment) MX-3114N MX-2314N/2614N/3114N (MAIN UNIT) 2 – 11...
- Page 16 Magenta, it means that the adjustment is proper. In an actual print mode, it is converted into the natural gray color balance by the color table. (When the color balance target is DEF 1.) MX-3114N MX-2314N/2614N/3114N (MAIN UNIT) 2 – 12...
- Page 17 5 sheets of white paper on the printed color patch image (adjustment pattern). Press [EXECUTE] key. The printer color patch image (adjustment pattern) is printed out. (A4/11" x 8.5" or A3/11" x 17" paper is automatically selected.) MX-3114N MX-2314N/2614N/3114N (MAIN UNIT) 2 – 13...
- Page 18 SIM 67-27, if the color balance is adjusted to that color balance, select the [SERVICE] target. Wait until [EXECUTE] key is displayed. When it is displayed, press it. The half tone image correction is performed. MX-3114N MX-2314N/2614N/3114N (MAIN UNIT) 2 – 14...
- Page 19 Troubleshoot the cause, repair or perform necessary works, and repeat the adjustment from the beginning. If color balance or density is not satisfied, adjust the copy and printer color balance by SIM 46-74. MX-3114N MX-2314N/2614N/3114N (MAIN UNIT) 2 – 15...


