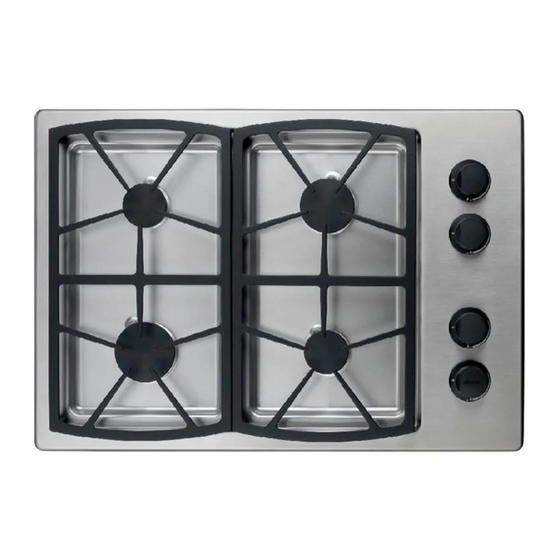
Dacor SGM304 Installation Instructions Manual
Preference series
Hide thumbs
Also See for SGM304:
- Installation instructions manual (20 pages) ,
- Use and care manual (16 pages) ,
- Planning manual (5 pages)
Advertisement
SAVE AND READ THESE INSTRUCTIONS
TESTED IN ACCORDANCE WITH THE LATEST EDITION OF ANSI Z21.1 STANDARD FOR
HOUSEHOLD GAS COOKING APPLIANCES.
CONVENTIONS USED IN THESE INSTRUCTIONS
WARNINGS:
Must be followed carefully to avoid personal injury.
IMPORTANT:
Must be followed carefully to avoid damage.
NOTES:
Contain helpful hints and tips to facilitate the installation.
IMPORTANT
1. Before beginning installation, please thoroughly read and become familiar with these instructions.
2. Installation and service must be completed by a qualified installer or service agency.
3. Installer: Please leave these Installation Instructions with the owner.
4. Owner: Please keep these instructions for local electrical inspectorʼs use and for future reference.
5. Read the accompanying Use & Care Manual prior to operating this appliance.
TABLE OF STEPS
STEP 5
Gas connection
STEP 6
Installing the burner components
STEP 8
Verifying cooktop operation
Part No. 65141-B
Rev. 011504
Installation Instructions
Preference™ Cooktops
Page 2
Page 2-3
Page 4-5
Page 5
Page 5-6
Page 6
Page 6
Page 7
Advertisement

Summary of Contents for Dacor SGM304
-
Page 1: Table Of Contents
Installation Instructions Preference™ Cooktops SAVE AND READ THESE INSTRUCTIONS TESTED IN ACCORDANCE WITH THE LATEST EDITION OF ANSI Z21.1 STANDARD FOR HOUSEHOLD GAS COOKING APPLIANCES. CONVENTIONS USED IN THESE INSTRUCTIONS WARNINGS: Must be followed carefully to avoid personal injury. IMPORTANT: Must be followed carefully to avoid damage. - Page 2 INSIDE FRONT COVER THIS PAGE IS BLANK INTENSIONALLY...
- Page 3 13. This appliance should be serviced only by qualified service personnel. Contact the nearest DACOR Authorized Servicer at (800) 772-7778, or at www.dacor.com for examination, repair or adjustment. Some products, such as whole eggs, and sealed containers, such as closed glass jars, may explode and should not be heated on this cooktop.
-
Page 4: Step 1 Verifying The Package Contents
STEP 1 Verifying the Package Contents • Use & Care Manual • Hold Down Bracket Kit • Cleaning Kit • Simmer Plate (SGM Only) • Grate/Burner Cap Pack • Burner Set • Gas Pressure Regulator • Grill Drip Pan (SGM464GG Model Only) •... - Page 5 (51mm) Min. NOTES: 1.The only downdraft approved for use with the SGM464GG is the Dacor ERV/PRV. Dacor recommends a 54 inch wide hood with a minimum 1100 CFM blower. 2.The SGM464GG cooktop is approved for 2” (51mm) min. clearance to combustibles below the chassis.
-
Page 6: Step 3 Gas And Electrical Supply Requirements
Electrical Requirements The SGM304, SGM364, SGM365, SGM466 and SGM464GG cooktops are supplied with a factory installed three-prong, grounding plug. It is the owner's responsibility to ensure that the electrical connection of this appliance is performed by a qualified electrician. The electrical installation, including minimum supply wire size and grounding, must be done in accordance with National Electric Code ANSI/ NFPA 70-1993*, (or the latest revision) and local codes and ordinances. -
Page 7: Step 4 Installing The Cooktop
Flexible armored or non-metallic, sheathed copper cable (with a grounding wire) should be used to supply electrical power to the junction box or receptacle. For the SGM304, SGM364, SGM365, SGM466 and SGM464GG the factory-equipped, three-prong grounding plug must be inserted into a mating grounding-type receptacle in accordance with National Electric Code and applicable state, municipal and local codes. -
Page 8: Connecting The Gas
STEP 5 Connecting the Gas Attach the gas pressure regulator (included with the cooktop) to cooktop pipe nipple inlet. For tight installations, the regulator may be installed upstream from the pipe nipple, anywhere between the shut-off valve and the cooktop. Install a gas shut-off valve (not included with the cooktop) in the main gas supply line in an accessible location near the cooktop. -
Page 9: Step 7 Electrical Connection
6. Follow the connector manufacturerʼs recommended procedure carefully. Improper connection can result in a fire hazard! SGM304, SGM364, SGM365, SGM466 and SGM464GG: Plug the three-prong plug from the appliance into the properly grounded and polarized wall receptacle. STEP 8... - Page 10 Page 8...
- Page 11 INSIDE BACK COVER THIS PAGE IS BLANK INTENSIONALLY...
- Page 12 ��� ����� ������������� ��� � ��������������� ����� �������� ��������� ������ ����� �������� �������� �������� ����� �������� ���� ����...


