Advertisement
Available languages
Available languages
Quick Links
Download this manual
See also:
Quick Start Manual
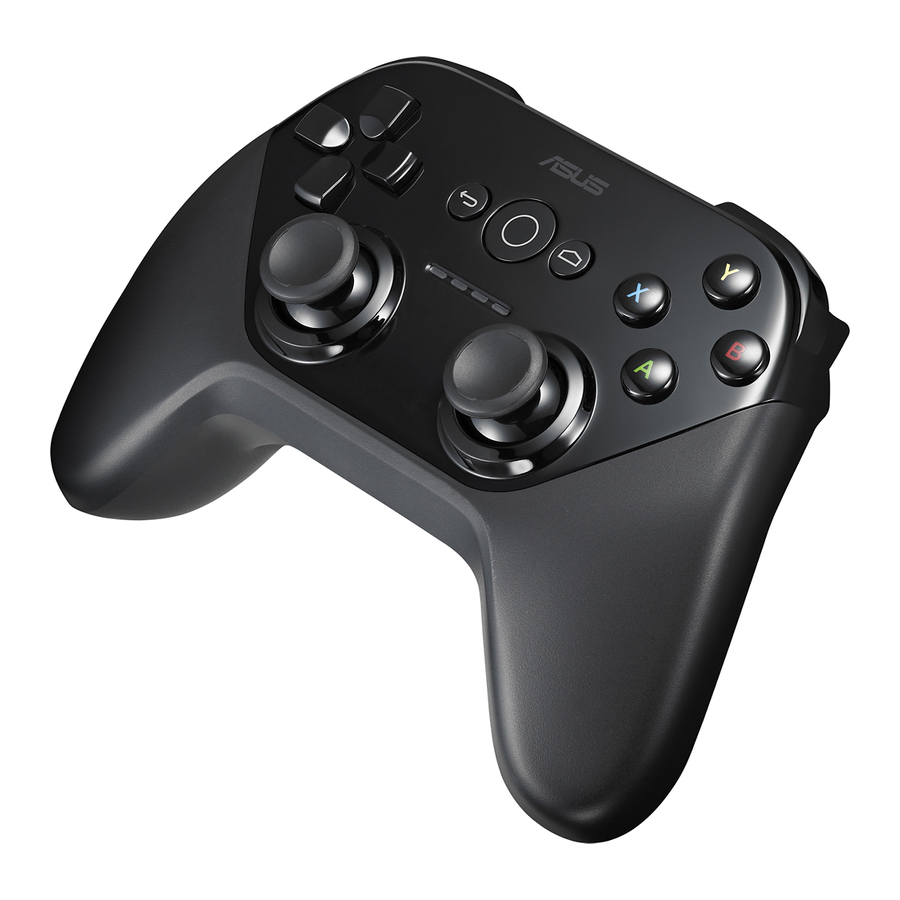
Gamepad for Nexus Player
Manette de jeu pour Nexus Player
TV500BG
QUICK START GUIDE
GUIDE DE DÉMARRAGE RAPIDE
U9848
Advertisement

Summary of Contents for Asus TV500BG
- Page 1 Gamepad for Nexus Player Manette de jeu pour Nexus Player TV500BG QUICK START GUIDE GUIDE DE DÉMARRAGE RAPIDE U9848...
-
Page 2: Important Safety Instructions
Important safety instructions • Read these instructions. • Keep these instructions. • Heed all warnings. • Follow all instructions. • Do not use this device near water. • Clean only with dry cloth. • Do not block any ventilation openings. Install in accordance with the manufacturer’s instructions. - Page 3 • Refer all servicing to qualified service personnel. Servicing is required when the apparatus has been damaged in any way, such as power-supply cord or plug is damaged, liquid has been spilled, or objects have fallen into the apparatus, the apparatus has been exposed to rain or moisture, does not operate normally, or has been dropped.
- Page 4 Instructions importantes relatives à la sécurité • Lisez attentivement les présentes instructions. • Conservez ces instructions à portée de main. • Tenez compte de tous les avertissements. • Suivez toutes les instructions. • N’utilisez pas cet appareil à proximité d’une source d’eau. •...
- Page 5 • Débranchez l’appareil en cas d’orage ou lorsqu’il ne sert pas pendant un certain temps. • Veuillez confier toute opération d’entretien à du personnel qualifié. L’appareil doit être révisé dans le cas où il est endommagé d’une quelconque manière, comme par exemple lorsqu’un cordon d’alimentation ou une prise endommagé(e), s’il est entré...
- Page 6 Your Gamepad / Votre manette de jeu Directional buttons Function buttons Boutons directionnels Boutons d’action Back button Left analog stick Bouton Retour Stick analogique gauche Power button Right analog stick Bouton Marche / Arrêt Stick analogique droite Home button Battery compartment Bouton Accueil Compartiment pour piles...
- Page 7 R1 control button L1 control button Bouton R1 Bouton L1 R2 control button L2 control button Bouton R2 Bouton L2 Activity LED Témoin d’activité...
- Page 8 Installing batteries / Installer les piles...
- Page 11 Setting up with Android TV Box / Connexion au boîtier Android TV...
- Page 13 Pairing up / Pairage Connection button Bouton de connexion...
- Page 15 Press for 3 seconds. Appuyez 3 secondes.
-
Page 16: Operating Temperature
Product was first purchased by an end-customer (“Date of Purchase”). If proof of purchase cannot be provided, the manufacture date as recorded by ASUS will be deemed to be the start of the Warranty Period. Please visit the ASUS support site at http://www.asus.com/support for complete ASUS warranty information. - Page 17 • Reorient or relocate the receiving antenna. Increase the separation between the equipment and receiver. • Connect the equipment into an outlet on a circuit different from that to which the receiver is connected. • Consult the dealer or an experienced radio/TV technician for help.
- Page 18 • EN 301 489-1 V1.9.2:2011 Electromagnetic compatibility and Radio spectrum Matters (ERM); ElectroMagnetic Compatibility (EMC) standard for radio equipment and services; Part 1: Common technical requirements • EN 301 489-17 V2.2.1:2012 Electromagnetic compatibility and Radio spectrum Matters (ERM); ElectroMagnetic Compatibility (EMC) standard for radio equipment;...
- Page 19 à compter de la première date d’achat du client final (“Date d’achat“). Si aucune preuve d’achat ne peut être fournie, la date de fabrication du produit, telle qu’enregistrée par ASUS, sera considérée comme date de commencement de la période de garantie.
- Page 20 Cependant, il n’est pas exclu qu’une interférence se produise lors d’une installation particulière. Si cet équipement cause une interférence nuisible aux signaux radio ou télévisé, ce qui peut-être déterminé par l’arrêt puis le réamorçage de l’appareil, l’utilisateur est encouragé à essayer de corriger l’interférence de la manière suivante : •...
- Page 21 Cet appareil est conforme aux exigences et clauses fondamentales de la Directive R&TTE 1999/5/CE du Parlement Européen et du Conseil du 9 Mars 1999 concernant les équipements hertziens et les équipements terminaux de télécommunications. Les méthodes de test suivantes ont été appliquées pour prouver la présomption de conformité aux exigences essentielles de la directive 1999/5/EC : •...
- Page 22 Canada, avis d’Industrie Canada (IC) Ce dispositif est conforme à la norme CNR-210 d’Industrie Canada applicable aux appareils radio exempts de licence. Son fonctionnement est sujet aux deux conditions suivantes : (1) le dispositif ne doit pas produire de brouillage préjudiciable, et (2) ce dispositif doit accepter tout brouillage reçu, y compris un brouillage susceptible de provoquer un fonctionnement indésirable.
- Page 23 15060-4700K100...


