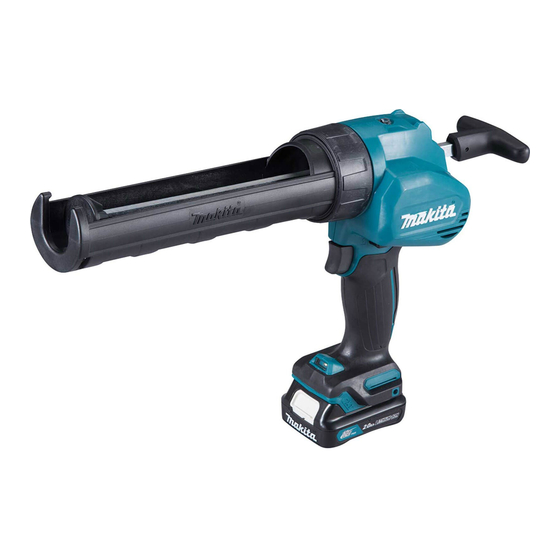
Makita CG100D Instruction Manual
Cordless caulking gun
Hide thumbs
Also See for CG100D:
- Instruction manual (85 pages) ,
- Instruction manual (73 pages) ,
- Instruction manual (44 pages)
Table of Contents
Advertisement
Quick Links
Download this manual
See also:
Instruction Manual
Advertisement
Table of Contents

Summary of Contents for Makita CG100D
- Page 1 INSTRUCTION MANUAL Cordless Caulking Gun CG100D Read before use.
-
Page 2: Specifications
SPECIFICATIONS Model: CG100D Maximum feed force 5,000 N Feed speed 0 - 28 mm/s Stroke 300 ml size holder 214 mm 600 ml size holder 350 mm 800 ml size holder 294 mm Overall length 300ml size holder 404 mm... - Page 3 Work area safety dust extraction and collection facilities, ensure Keep work area clean and well lit. Cluttered or Use of dark areas invite accidents. dust collection can reduce dust-related hazards. Do not let familiarity gained from frequent use of tools allow you to become complacent and liquids, gases or dust.
- Page 4 Read and follow the manufacture's instructions on caulking material or adhesive material before usage. also void the Makita warranty for the Makita tool and SAVE THESE INSTRUCTIONS. charger. 4 ENGLISH...
-
Page 5: Functional Description
Tips for maintaining maximum Battery protection system battery life extend battery life. tool and/or battery are placed under one of the following conditions: an abnormally high current. In this situation, turn the tool off and stop the application the tool on to restart. FUNCTIONAL If the tool does not start, the battery is overheated. - Page 6 WARNING: CAUTION: 1. Lamp 1. Switch trigger seconds after releasing the switch trigger. the trigger-lock button is provided. NOTICE: by increasing pressure on the switch trigger. Release the switch trigger to stop. NOTE: Use a dry cloth to wipe the dirt off the lens of After use, press in the trigger-lock button from B side.
- Page 7 trigger is released. It releases the pressure of the caulk- ing material and prevents dripping. ASSEMBLY CAUTION: 1. Screw Piston A Short rod NOTICE: procedure in reverse. procedure in reverse. CAUTION: follow the installation procedure in reverse. 1. Screw Plate piston Insert the rod from the rear side of the tool with its 1.
- Page 8 1. Long rod or black rod 1. Screw Plate NOTICE: Attach the piston with the screw. 1. Screw 1. Screw Piston Long rod or black rod Select the proper type of piston according to the caulk- procedure in reverse. ing material container by referring to the following table. Cartridge Piston A Piston D...
-
Page 9: Operation
OPERATION Using cartridge Preparing cartridge for use Cut the tip of the cartridge nozzle so that the suit- able amount of caulking material is fed. 1. Rod handle Insert the cartridge into the holder as shown in the 1. Nozzle the nozzle. - Page 10 NOTICE: Remove the holder cap, nozzle, and rubber ring from the holder. 1. Holder holding the holder. 1. Holder cap Nozzle Rubber ring 4. Holder Pull the rod handle backward slowly until it stops. Insert the package into the holder. 1.
-
Page 11: Maintenance
MAINTENANCE CAUTION: attempting to perform inspection or maintenance. NOTICE: cracks may result. be performed by Makita Authorized or Factory Service Centers, always using Makita replacement parts. OPTIONAL ACCESSORIES 1. Holder CAUTION: Attach the rubber ring, nozzle, and holder cap by Only use accessory or attachment for its stated purpose. - Page 12 NOTE: Some items in the list may be included in the differ from country to country. Jan-Baptist Vinkstraat 2, Makita Europe N.V. 3070 Kortenberg, Belgium 3-11-8, Sumiyoshi-cho, Makita Corporation Anjo, Aichi 446-8502 Japan www.makita.com...


