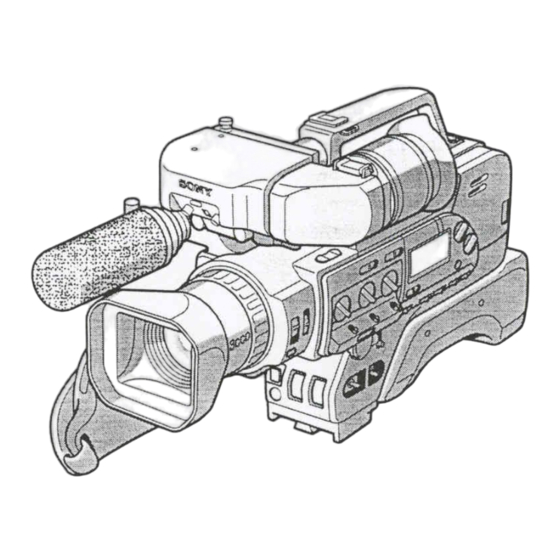
Summary of Contents for Sony DSR 200
- Page 1 Media Equipment: Audiovisual DSR 200 guide www.lincoln.ac.uk/lr How to use the Sony DSR 200 digital video camera. learning resources © University of Lincoln 2002...
-
Page 2: Equipment Overview
Media Equipment: DSR 200 Contents Contents Page Equipment overview Attach the camera to the tripod Charging and removing the battery from the charger Installing and removing the battery from the camera Inserting and ejecting a cassette Recording Pausing and stopping recording... - Page 3 Media Equipment: DSR 200 Page 3 of 9 Attaching the camera to the tripod First it is necessary to attach the tripod adaptor also known as a foot-plate to the tripod. The wedge shaped section of the footplate is inserted into the recess on the top of the tripod.
-
Page 4: Installing And Removing The Battery
Media Equipment: DSR 200 Installing and removing the battery Connecting the mains supply that accompanies the equipment can operate the camera. To do this, connect the mains supply to the charger. The DC lead has two different connectors, one attaches to the charger (see diagram 4) and the other to the camera. To attach the DC lead to the camera open the rubber flap at the side of the camera and insert the plug into the DC IN socket. - Page 5 Media Equipment: DSR 200 Page 5 of 9 A battery must be installed and the power switch at on to carry out the following steps. 1. Open the cassette compartment cover. 2. Insert a cassette with the tab upwards, and the window facing out and press down so that the cassette loads.
-
Page 6: Recording Sound
Press the start stop button. The “STBY” indicator appears in the viewfinder. Recording sound The DSR 200 comes with an on board microphone as well as an external shotgun microphone. To make the most of the sound recording facilities a number of settings on the camera should be made. - Page 7 Media Equipment: DSR 200 Headphone and internal speaker volume control When using the external shotgun microphone. Plug into either channel 1 or 2. But whichever channel is selected switch to rear position as shown in diagram 12. The on board microphone is effective when the subject is in close proximity and the surrounding environmental noise is low.
-
Page 8: Playing Back A Tape
4. Open the flap, then press play to start to playback Troubleshooting If the Sony DSR 200 camera or any of the equipment that accompanies it, will not function please check the symptoms and solutions described below which could advise you in correcting the problem. - Page 9 Media Equipment: DSR 200 The cassette cannot be removed from the holder The tape does not move when a video control button is presses Is the picture recording onto the tape in colour as the viewfinder is in black and white? EXTRA EQUIPMENT AVAILABLE learning resources ©...


