Advertisement
Quick Links
Advertisement

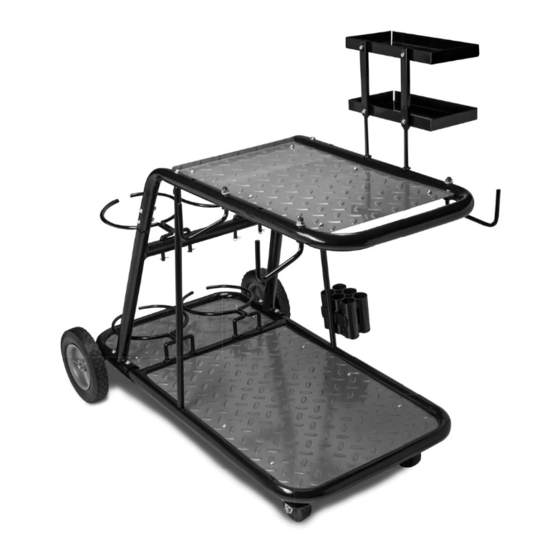
Summary of Contents for Eastwood 20354
- Page 1 Item #20354 PROFESSIONAL WELDING CART INSTRUCTIONS...
- Page 2 (2) Tool Storage Trays, “J” (2) Tool Storage Tray Uprights, “K” * NOTE: This cart will fi t many welder brands other than Eastwood’s. The Deck Supports “F” can be interchanged left and right as required. TOOLS REQUIRED • 10, 12 & 14mm wrenches •...
- Page 3 ASSEMBLY FRAMES – FIGS. 4 & 5 FIG. 3 NOTE: This cart will fi t many welder brands other than Eastwood’s. The Deck Supports “F” can be interchanged left and right as required. 1. Align the Upper Deck Supports with threaded ends with holes in Upper and Lower Deck Assembly Frame Tubes.
- Page 4 2. Place fl ange nuts over the 10mm threads protruding through. 3. Using a 14mm wrench, tighten all nuts securely. Your Eastwood Professional 4 wheel Welding Cart is now ready for use. FIG. 9 If you have any questions about the use of this product, please contact The Eastwood Technical Assistance Service Department: 800.544.5118 >>...


