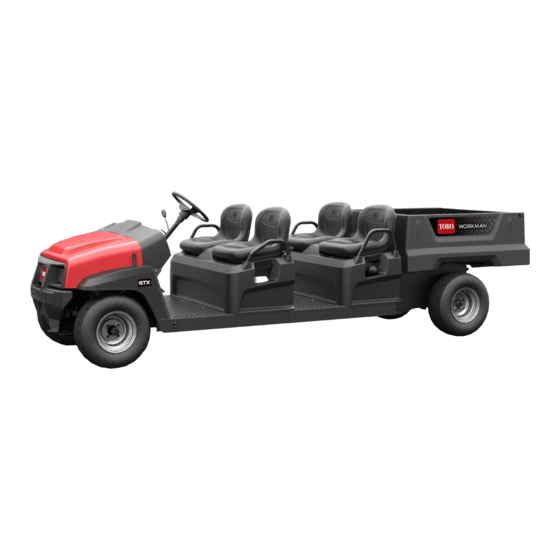
Toro Workman GTX Series Installation Instructions Manual
Walk spreader mounting kit
Hide thumbs
Also See for Workman GTX Series:
- Operator's manual (60 pages) ,
- Installation instructions manual (8 pages) ,
- Operator's manual (56 pages)
Advertisement
Table of Contents
Walk Spreader Mounting Kit
Workman
Model No. 07029
Safety
WARNING
CALIFORNIA
Proposition 65 Warning
This product contains a chemical or chemicals
known to the State of California to cause cancer,
birth defects, or reproductive harm.
Safety and Instructional
Decals
Safety decals and instructions are easily
visible to the operator and are located near
any area of potential danger. Replace any
decal that is damaged or lost.
1. Warning—no riders on the attachment.
1. Attention—read the Operator's Manual; do not carry more
than 45 kg (100 lb).
© 2016—The Toro® Company
8111 Lyndale Avenue South
Bloomington, MN 55420
®
GTX Series Utility Vehicle
133-4641
133-7202
Register at www.Toro.com.
Form No. 3404-882 Rev A
Installation Instructions
Original Instructions (EN)
All Rights Reserved *3404-882* A
Printed in the USA
Advertisement
Table of Contents

Summary of Contents for Toro Workman GTX Series
- Page 1 1. Warning—no riders on the attachment. 133-7202 1. Attention—read the Operator’s Manual; do not carry more than 45 kg (100 lb). © 2016—The Toro® Company Register at www.Toro.com. Original Instructions (EN) All Rights Reserved *3404-882* A 8111 Lyndale Avenue South...
-
Page 2: Installation
Installation Loose Parts Use the chart below to verify that all parts have been shipped. Description Qty. – No parts required Prepare the machine. Spreader-mount frame Snap pin Clip bushing Spreader-pivot shaft Left spreader ramp Install the walk-speader mount (for machines with a plastic cargo bed). - Page 3 Installing the Walk-Spreader Mount to the Rear of the Machine For Machines with a Plastic Cargo Bed 1. Install the 2 clip bushings to the spreader-mount frame Figure 4 (Figure 1. Spreader-pivot shaft 2. Spreader ramp 4. Align the holes on the spreader-pivot shaft with the holes on the left and right spreader ramps, and secure them using the 4 flange-head screws (5/16 x 1-1/2 inches) and 4 flange nuts (5/16 inch) as shown in...
- Page 4 Important: If you use the spreader mount while in 6. Insert the assembled spreader mount into the machine receiver tube (Figure transport mode without the spreader installed , secure the spreader-ramp assembly using the 2 snap pins as shown in Figure Figure 7 1.
- Page 5 Installing the Walk-Spreader Mount to the Rear of the Machine For Machines with a Steel Cargo Bed Repeat steps through Installing the Walk-Spreader Mount to the Rear of the Machine (page When you complete installation on the rear of a machine with a steel cargo bed, the Walk Spreader Mounting Kit appears as follows: Steel Cargo Bed Installation—Figure 11...
- Page 6 Installing the Walk-Spreader Mount to the Front of the Machine For Machines With or Without the Brush Guard Kit Installed Repeat steps through Installing the Walk-Spreader Mount to the Rear of the Machine (page When you complete installation on the front of a machine with or without the Brush Guard Kit installed, the Walk Spreader Mounting Kit appears as follows: With Brush Guard Kit Installation—Figure 12...
-
Page 7: Operation
Operation Installing a Spreader onto the Walk-Spreader Mount 1. Walk the spreader up the spreader ramps. 2. Engage the spreader axles using the axle holders (Figure 14). Figure 14 1. Axle holders 3. Align the kickstand on the spreader between the kickstand-retention tabs on the spreader-mount frame (Figure 15).


