Advertisement
Available languages
Available languages
CT31
Low-voltage Thermostat
Getting started
Check to make sure your package includes the following items:
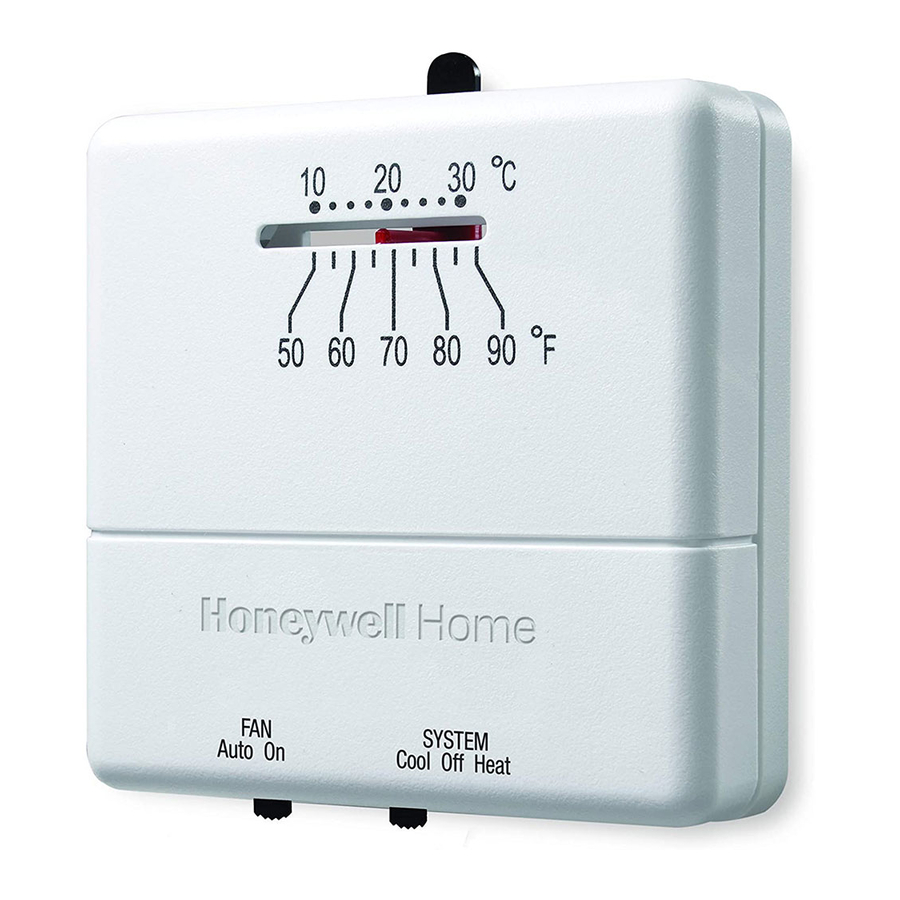
CT31 thermostat
Before you begin, make sure you have:
• Screwdriver
• Hammer
• Level (optional)
• Pencil
• Drill bit (3/16" for drywall, 7/32" for plaster)
® U.S. Registered Trademark. Patents pending.
Copyright © 2005 Honeywell International Inc.
All rights reserved.
Cover plate
Owner's
Manual
Wire labels
Wall anchors and
mounting screws
(2 each)
Caution card
Advertisement
Table of Contents

Summary of Contents for Honeywell CT31
-
Page 1: Getting Started
• Screwdriver • Hammer • Level (optional) • Pencil • Drill bit (3/16” for drywall, 7/32” for plaster) ® U.S. Registered Trademark. Patents pending. Copyright © 2005 Honeywell International Inc. All rights reserved. Wire labels Cover plate Owner’s Manual Caution card... -
Page 2: Remove Your Old Thermostat
Did you purchase right thermostat? Count wires to check. Count the number of wires coming out of the wall and attached to terminals in your old thermostat. If any of them are attached to a terminal marked “C” or “C1” do not count that wire in your total. - Page 3 Label wires and remove old wallplate Use a screwdriver to disconnect wires one by one.As you disconnect each wire, wrap it with the label matching the letter on your old thermostat. (Adhesive labels are supplied in your thermostat package.) Remove the old wallplate only after all wires are labeled. Be careful not to let loose wires fall into the wall opening.
-
Page 4: Connect Wires
• • • Terminal “R” • • Terminal “W” • • Terminal “Y” • Terminal “G” Stop! See note Optional cover plate If this wire is present, you cannot use this thermostat with your system. See page 2. Thermostat base... -
Page 5: Finish Installation
CT31 Low-voltage Thermostat Set adjustment lever 1 Separate cover from thermostat, and remove the plastic insert. 2 Use a pencil to move the adjust- ment lever to the proper setting for your system (see table below). Your system Gas or oil furnace... -
Page 6: Operation
CAUTION: EQUIPMENT DAMAGE HAZARD. To prevent possible compressor damage, do not operate cooling system when outdoor temperature is below 50°F (10°C). System switch • Cool: Thermostat controls only the cooling system. • Heat: Thermostat controls only the heating system. -
Page 7: Limited Warranty
MN 55422, or whether a replacement product can be sent to you. This warranty does not cover removal or reinstallation costs.This warranty shall not apply if it is shown by Honeywell that the defect or malfunction was caused by damage which occurred while the product was in the possession of a consumer. -
Page 8: Need Help
For assistance with this product please visit or call Honeywell Customer Care toll-free at Automation and Control Solutions Honeywell International Inc. 1985 Douglas Drive North Golden Valley, MN 55422 www.honeywell.com/yourhome Printed in U.S.A. on recycled paper containing at least 10% post-consumer paper fibers. - Page 9 • Marteau • Niveau (facultatif) • Crayon • Mèche (3/16” pour cloisons sèches, 7/32” pour cloisons plâtre) ® U.S. Marque déposée. Brevets en instance. Copyright © 2005 Honeywell International Inc. Tous droits réservés. Guide d’utilisation Etiquettes de fils Carte de mise...
- Page 10 Comptez le nombre de fils sortant du mur et fixés aux bornes de votre ancien thermostat. Si aucun d’entre eux n’est fixé à la borne marquée « C » ou « C1 », ne comptez pas ce fil dans le total.
- Page 11 Thermostat basse tension CT31 Étiquetez les fils et retirez l’ancienne plaque de montage Débranchez les fils un par un à l’aide d’un tournevis. À mesure que vous les débranchez, enveloppez-les avec l’étiquette correspondant à la lettre de votre ancien thermostat. (Des étiquettes adhésives sont fournies dans l'emballage de votre thermostat.)
- Page 12 3 Repoussez le fil en trop dans le trou du mur. Les étiquettes ne correspondent pas ? Si les étiquettes ne correspondent pas aux lettres marquées sur le thermostat, voir le tableau ci-dessous. Fils existants Raccordez à : •...
-
Page 13: Fin De L'installation
Thermostat basse tension CT31 Positionnement du levier de réglage 1 Séparez le couvercle du thermostat et retirez la plaquette en plastique. 2 À l’aide d’un crayon, amenez le levier de réglage à l'emplacement convenant à votre installation (voir le tableau ci-dessous). - Page 14 à 50° F (10° C). Commutateur de mode de fonctionnement • Cool/Clim : Le thermostat ne régule que la climatisation • Heat/Chauff : Le thermostat ne régule que le chauffage •...
-
Page 15: Garantie Limitée
Thermostat basse tension CT31 Garantie limitée Honeywell garantit ce produit contre tout vis de fabrication ou de matière dans des conditions d’utilisation et de service normales, pendant une durée d’un (1) an à compter de la date d’achat par le consommateur. Si à un moment quelconque pendant la durée de la garantie, le produit est jugé... - Page 16 Pour obtenir de l’assistance concernant ce produit, visitez ou appelez gratuitement l’assistance client d’Honeywell au Automation and Control Solutions Honeywell International Inc. 1985 Douglas Drive North Golden Valley, MN 55422 www.honeywell.com/yourhome Imprimé aux États-Unis sur du papier recyclé contenant au moins 10% de fibres de papier récupérées après usage.


