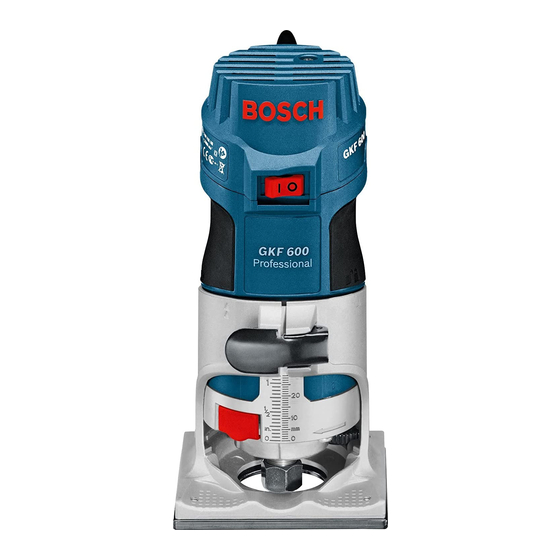
Bosch GKF 600 Professional Original Instructions Manual
Laminate trimmer
Hide thumbs
Also See for GKF 600 Professional:
- Original instructions manual (199 pages) ,
- Operating instructions manual (29 pages) ,
- Operating instructions manual (14 pages)
Table of Contents
Advertisement
2 609 140 541.book Seite 1 Dienstag, 22. Januar 2008 8:46 08
GKF 600
Professional
Originalbetriebsanleitung
Original instructions
Notice originale
Manual original
Manual original
Istruzioni originali
Oorspronkelijke gebruiksaanwijzing
Original brugsanvisning
Bruksanvisning i original
Original driftsinstruks
Alkuperäiset ohjeet
Πρωτ τυπ
δηγιών ρήσης
Orijinal iµletme talimat∂
Instrukcjå oryginalnå
PÛvodním návodem k pouÏívání
Pôvodn˘ návod na pouÏitie
Eredeti használati utasítás
Подлинник руководства по
эксплуатации
Оригінальна інструкція з
експлуатації
Instrucøiuni de folosire
Оригинално ръководство за
експлоатация
Originalno uputstvo za rad
Izvirna navodila
Originalne upute za rad
Algupärane kasutusjuhend
Instrukcijām ori inālvalodā
Originali instrukcija
Advertisement
Table of Contents

Summary of Contents for Bosch GKF 600 Professional
- Page 1 2 609 140 541.book Seite 1 Dienstag, 22. Januar 2008 8:46 08 GKF 600 Professional Originalbetriebsanleitung Original instructions Notice originale Manual original Manual original Istruzioni originali Oorspronkelijke gebruiksaanwijzing Original brugsanvisning Bruksanvisning i original Original driftsinstruks Alkuperäiset ohjeet Πρωτ τυπ δηγιών ρήσης Orijinal iµletme talimat∂...
- Page 2 2 609 140 541.book Seite 3 Dienstag, 22. Januar 2008 8:46 08 2 609 140 541 • 22.1.08...
- Page 3 2 609 140 541.book Seite 4 Dienstag, 22. Januar 2008 8:46 08 2 609 140 541 • 22.1.08...
- Page 4 2 609 140 541.book Seite 5 Dienstag, 22. Januar 2008 8:46 08 2 609 140 541 • 22.1.08...
- Page 5 2 609 140 541.book Seite 6 Dienstag, 22. Januar 2008 8:46 08 GKF 600 Professional 2 609 140 541 • 22.1.08...
-
Page 6: Tool Specifications
The trade names of the individual ma- chines may vary. The values given are valid for nominal voltages [U] of 03.12.2007, Robert Bosch GmbH, Power Tools Division 230/240 V. For lower voltages and models for specific D-70745 Leinfelden-Echterdingen countries, these values can vary. - Page 7 2 609 140 541.book Seite 15 Dienstag, 22. Januar 2008 8:46 08 21 Wing bolt for parallel guide Keep your hands away from the routing area and the routing tool. Hold the auxil- 22 Roller guide iary handle or the motor housing with 23 Wing bolt for horizontal alignment of the your second hand.
- Page 8 Mounting the Motor Unit Original router bits from the extensive Bosch ac- (see figure cessories program are available at your special- ist shop. To mount the motor unit 1, open the clamping...
- Page 9 2 609 140 541.book Seite 17 Dienstag, 22. Januar 2008 8:46 08 Readjusting the Clamping Lever Operating Instructions To readjust the tightening tension, open the Direction of Feed (see figure clamping lever 10, turn the nut of the clamping lever approx. 45° in clockwise direction using an The feed motion of the router must always be open-end spanner and then lock the clamping carried out against the rotation direction of the...
- Page 10 2 609 140 541.book Seite 18 Dienstag, 22. Januar 2008 8:46 08 Insert the centring pin 18 into the tool holder as Guide the machine with uniform feed and side- shown in the figure. Hand-tighten the tightening ward pressure against the parallel guide 20 nut so that the centring pin can still be moved.
- Page 11 The machine can be plugged directly into the re- ery in an environmental-friendly manner. ceptacle of a Bosch all-purpose vacuum cleaner with remote starting control. The vacuum After-Sales Service and Customer cleaner starts automatically when the machine Assistance is switched on.
- Page 12 City West Dublin 24 Tel. Service: +353 (01) 4 66 67 00 Fax: +353 (01) 4 66 68 88 Australia, New Zealand and Pacific Islands Robert Bosch Australia Pty.Ltd. Power Tools Locked Bag 66 Clayton South VIC 3169 Customer Contact Center...


